


Top Techniques for Decorating Custom Cookies Beautifully
- Jul 15, 2025
- 4 min read
Custom cookies add a personal touch to any celebration or gathering. From birthdays to weddings, decorated cookies can be the highlight of dessert tables. In this blog post, we will explore some fantastic techniques for achieving stunning cookie designs that are sure to impress your guests. Let’s dive in!
Cookie Design Techniques
When it comes to decorating cookies, there are countless methods to achieve beautiful results. Whether you are a beginner or an experienced baker, these techniques will elevate your cookie game. Using the right tools, colors, and piping techniques can turn simple cookies into edible art.
Before you start, ensure you have the supplies ready: royal icing, food coloring, piping bags, and a variety of cookie cutters. Each cookie design technique requires different tools, so having everything organized will save you time and effort.
Royal Icing for Detailed Designs
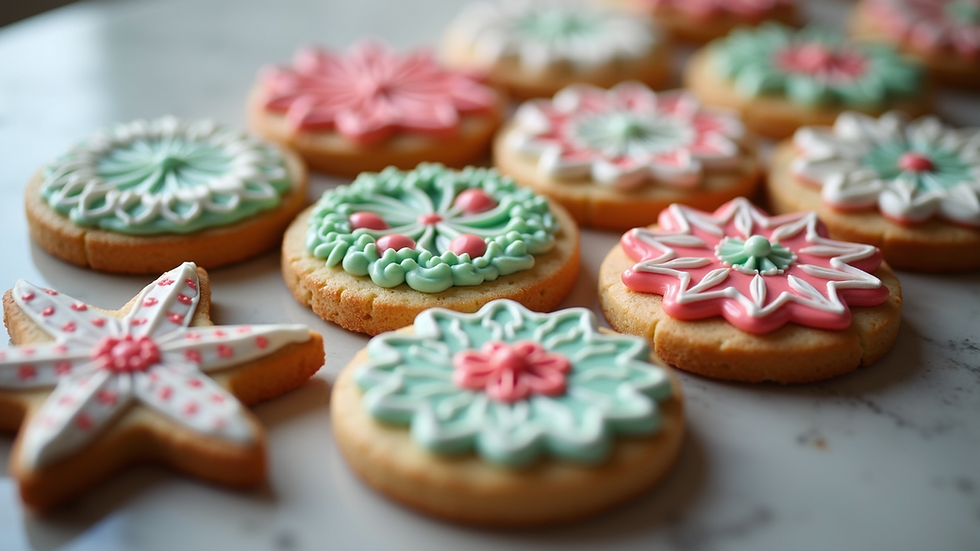
Royal icing is one of the most popular mediums for decorating cookies. Its smooth finish and ability to hold intricate designs make it an ideal choice for custom cookies. Here’s how to use royal icing effectively:
Prepare the Icing: Begin by mixing powdered sugar, egg whites, and water. The consistency should be thick enough to hold its shape but thin enough to spread easily.
Color the Icing: Use gel food coloring to tint your icing. Gel colors give vibrant hues without altering the icing's consistency.
Piping: Fill a piping bag with the icing, using a small round tip for fine details and a larger tip for flooding areas. After flooding the cookies, let them dry completely—this can take several hours or overnight.
Airbrushing for a Professional Touch
Airbrushing is a technique that adds depth and dimension to cookie designs. It allows for smooth gradients and unique effects that are hard to achieve with traditional methods. Here’s how to get started with airbrushing your cookies:
Select Your Colors: Choose airbrush food colors to create the desired effects. These colors are specifically designed for cookie decorating and are vibrant and easy to work with.
Get the Right Equipment: Invest in an airbrush machine and practice on some parchment before moving to cookies.
Technique: Hold the airbrush about 6-8 inches away from the cookie surface and apply even strokes. You can use stencils for shapes and patterns, which will make your designs unique and sophisticated.

Stenciling for Patterns and Textures
Stenciling is a great technique to create consistent patterns across multiple cookies. This method is much easier than it appears and can add an exciting visual interest to your cookie designs. Here’s how to stencil:
Choose Your Stencils: There are many stencil designs available, from floral motifs to geometric shapes. You can also make your own with cardstock or plastic.
Use a Consistent Icing: Thicker royal icing works best for stenciling. Apply it over the stencil and gently smooth it out with a spatula.
Remove the Stencil Carefully: Pull the stencil away promptly to avoid smudging the design. The result will be a clean and professional look.
Painting Techniques for Unique Designs
Painting cookies opens up a world of possibilities, allowing for custom designs that match themes or personal preferences. Here’s how to incorporate painting into your cookie decorating routine:
Edible Paints: Use edible food paint or thinned gel food coloring. Make sure it’s specifically designed for use on food to ensure safety.
Brush Selection: Different brushes will provide different effects. A fine brush is excellent for details, while a larger one can fill in larger areas.
Technique: Lightly paint your designs on dry royal icing. Consider creating abstract art, detailed pictures, or even writing messages. Just ensure the icing is completely dry before painting to avoid blending.
Finishing Touches for Professional-Looking Cookies
To take your cookie decorating to the next level, consider adding finishing touches that can enhance the overall design:
Edible Glitter or Sprinkles: A sprinkle of edible glitter or colored sugar can add sparkle and fun to your cookies. Apply them while the icing is still wet so they stick properly.
Fondant Accents: Use fondant to create 3D elements, such as flowers or figures. Simple shapes cut from fondant can add dimension and interest to your cookies.
Assembly: Consider stacking cookies or using them in cookie bouquets. This not only makes for a beautiful presentation but also showcases your decorating skills.

Tips for Success in Cookie Decorating
Achieving beautiful decorated cookies takes practice and patience. Here are some tips to enhance your cookie decorating experience:
Practice Makes Perfect: Don’t be discouraged by mistakes. The more you practice, the better your designs will become.
Stay Organized: Keep your workspace tidy and all your tools and ingredients within reach. This helps streamline the decorating process.
Experiment: Don’t be afraid to try new techniques and color combinations. Creativity knows no bounds in cookie decorating.
Use Quality Ingredients: Invest in high-quality ingredients. Premium baking supplies can make a significant difference in the final product.
Enjoy the Process: Have fun while decorating. It should be a joyful process, allowing you to express your creativity through edible art.
Final Thoughts on Decorating Custom Cookies
Decorating custom cookies is a rewarding hobby that can brighten any occasion. With these techniques, you can create stunning designs that showcase your baking skills and creativity. Whether you opt for royal icing, airbrushing, stenciling, or painting, each method offers unique benefits.
For more ideas and resources on cookie decorating techniques, feel free to explore cookie decorating techniques. With practice and passion, the cookies you create will not only be delicious but also works of art! Happy decorating!


Comments